As part of the Permaculture Design Course taught at Kin Kin Souls by Tom, he shows students how to make an 18 day hot compost. This is a fungal based compost, which is great for trees; they thrive in a fungal based environment. First we have to get the material together, which consists of:
 |
| Freshly cut vetiver grass and weeds/grass |
 |
| Cow manure |
 |
| Compost and a dead bird for activation |
 |
Diameter established, fresh grass and manure,
ready to be covered with hay
|
We cut vetiver grass and weeds/other grasses and had cow manure "harvested" from our cows, both high in Nitrogen. We alternately layered fresh cut grass, cow manure and hay (dried, old cut grass, high in Carbon), with the bulk made up from the grasses. The ideal ratio is 25 Carbon to 1 Nitrogen. To get that ratio right is the art of composting.
We had a dig through our compost bin for some citrus and other bits and pieces. A small chicken unfortunately died not long ago, so we used it with the food scraps to "activate" the compost: heat it up from the inside. When we were about halfway up, we added the activator, then buried it under more layers. We needed at least 1 cubic metre of volume for the compost pile, otherwise there would not be enough bulk to be able to heat it up adequately.
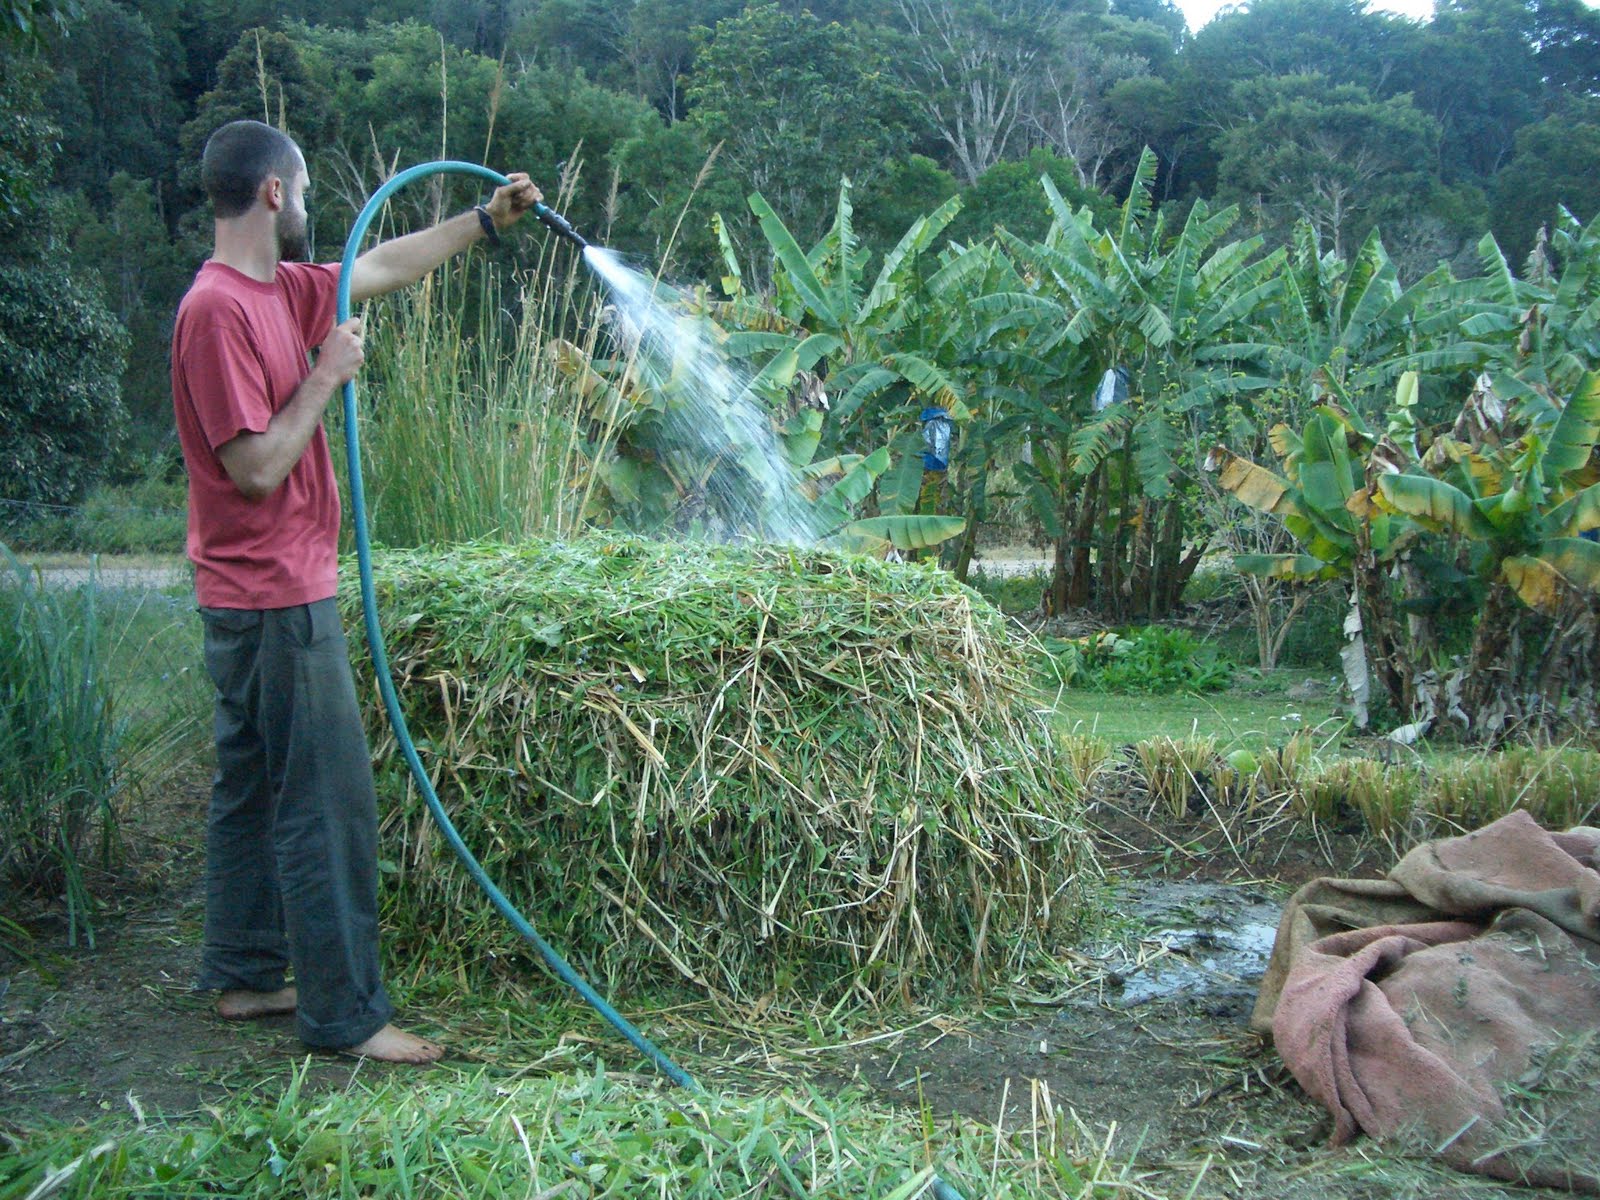
We watered the pile after every several layers and then again at the end, after which we covered the pile with a tarp for 4 days.
 |
| James watering the compost |
 |
| Covered for 4 days |
After 4 days we turned the compost for the first time, and stuck a thermometer in at various stages to measure the temperature. The temperature was between 52 and 74 degrees Celsius. 74 degrees was too hot, all the beneficial bacteria start dying at temperatures over 65 degrees. But we were pretty happy with the average temperature of the pile, which was around 63.
 |
| The first turning after 4 days |
 |
Fungal activity already started;
at first turning |
From then the compost was turned every 2 days (thanks to Scott, who did most of the turning!). The smell was not very pleasant at the first turning, but after that the smell seemed to have gone. Tom tested the moisture of the pile by grabbing some and squeezing it. It was moist enough if there was water dripping out, otherwise it needed some more water. If there is not enough moisture, the composting process is slower and we don't want it too wet either.
After every turning we covered the pile with the tarp again, to protect it from the elements (rain would have cooled it down, wind would have dried it out etc.)
 |
| STEAM!! Only permaculturists get joy from playing with a steaming pile of ....... |
Fungal activity was obvious at every turning. Below are some photos on the development of fungal activity in the compost:
 |
| Fungal activity day 6 |
 |
| Fungal activity day 8 |
 |
| Fungal activity day 10 |
 |
| Fungal activity day 12 |
The temperature stayed pretty consistent during the subsequent turns, between 55 and 65 degrees C. It started cooling down at about day 14 to around 50 to 55 degrees C. By day 18 the temperature was down to around 45 degrees C.
We regretted we were unable to make the vetiver grass smaller; there were still quite substantial chunks in the compost. Next time we will use an old chaff cutter we have been able to get, so our finished compost will have a finer consistency.
 |
| Day 18: turning the finished product |
 |
| And up close... Ready for use by day 18 |